
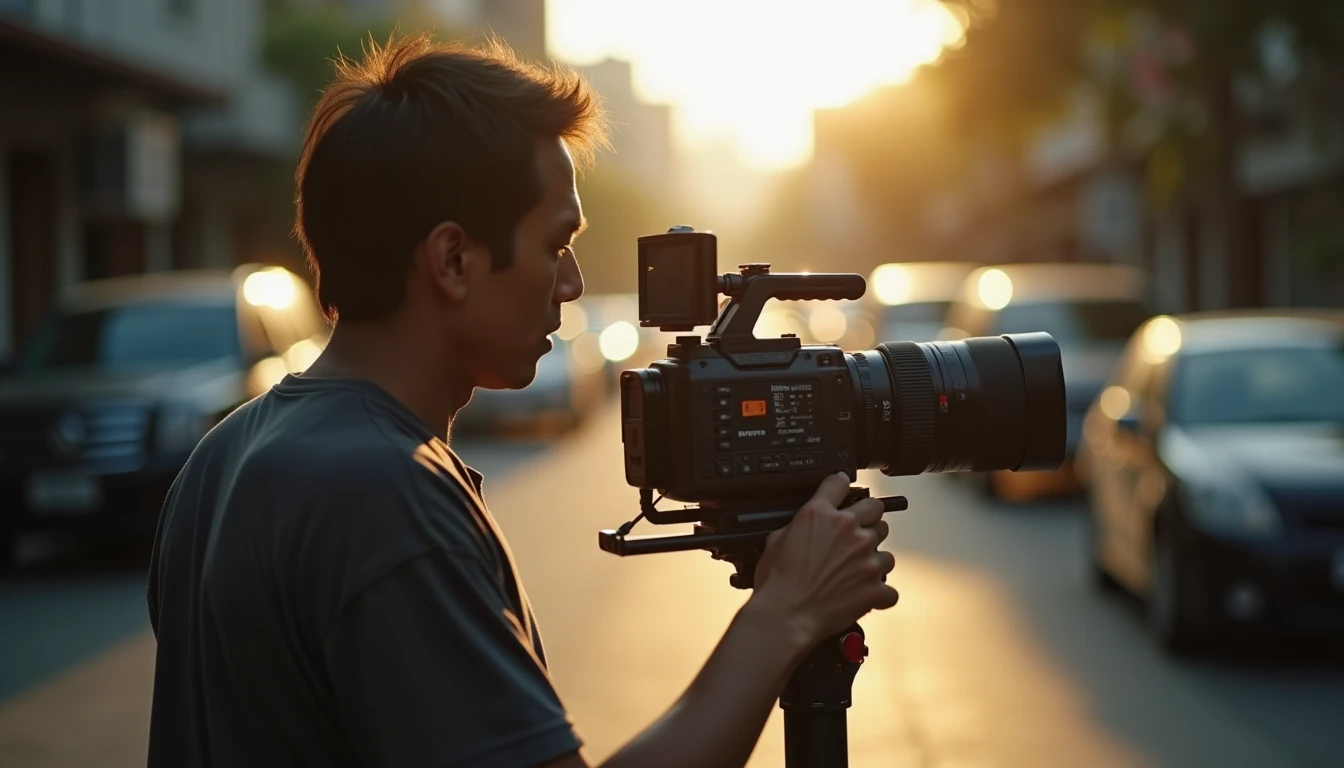
Last month, while we were shooting a company profile video for a client at a café in Banyumanik, something interesting happened. One of our junior crew members kept placing the interview subject dead center in the frame. The result: the video felt static and flat. It’s a classic example of why understanding video composition techniques matters, even for things that look simple.
Composition isn’t just about putting objects inside a frame. It’s the art of arranging visual elements so the image feels harmonious, engaging, and effective at telling a story. If you’re just starting out or want to raise the visual quality of your videos, understanding these principles will help a lot.
Let’s break them down one by one so you can put them into practice on your next project.
1. Rule of Thirds: More Than Just a Rule
The most basic principle of visual composition is the Rule of Thirds. Imagine your video frame divided into nine equal boxes by two horizontal lines and two vertical lines. The points where these lines meet are the most visually interesting areas.
Placing your main subject, whether it’s a person, an object, or a focal point, along these lines or on one of the four intersection points makes the image feel more balanced and dynamic than if the subject is always placed right in the middle. It also helps your audience naturally guide their eyes to the important elements in the frame.
When shooting, many video cameras and editing apps have a grid overlay that can display these lines. Turn it on to help you while composing. That doesn’t mean you always have to obey the rule of thirds. Sometimes placing the subject in the center can create a strong symmetry or a particular emphasis. What matters is that you know why you’re breaking it.
2. Headroom and Looking Room: Give the Right Amount of Space
Headroom is the empty space above the subject’s head. Too little makes the subject feel cramped or cut off, while too much makes the frame feel empty and the subject gets swallowed up.
As a general rule, leave a little space above the subject’s head, roughly the height of an adult’s eye. But this can vary depending on the type of shot and the context. For a more dramatic shot or one that emphasizes height, you might deliberately reduce the headroom. For a shot meant to feel open and relaxed, a bit more headroom can be the right choice.
Then there’s Looking Room, or Lead Room. This is the empty space in front of where the subject is looking or moving. If the subject looks to the right, give more space on the right side of the frame. If the subject moves to the left, give space on the left side of the frame.
This principle matters because it gives the subject ‘room to breathe’ or ‘room to move’. Without looking room, the subject can feel cornered, or as if they’re about to bump into the edge of the frame, which makes viewers uncomfortable. Imagine you’re interviewing someone who is looking out a window. If you don’t give space in the direction of their gaze, it feels like the conversation gets cut off abruptly.
3. Leading Lines: Guide the Viewer’s Eye
Leading Lines are visual elements in the frame (such as roads, fences, rivers, or even architectural lines) that naturally lead the viewer’s eye toward the main subject or focal point of the image. It’s a very effective framing technique for creating depth and steering the visual narrative.
For example, if you’re shooting in Kota Lama Semarang, you can use the curve of a paved road or a row of parallel old buildings to lead the viewer’s eye toward your subject. Make sure those leading lines point to something important, not pull focus toward some other, irrelevant area.
When using leading lines, also make sure they don’t slice through the frame harshly or disturb the subject’s proportions. Sometimes diagonal or curved lines are more interesting than rigid straight ones.
4. Framing with Foreground Elements
This technique is often called Foreground Framing. You use elements at the front of the frame (for example, a door, a window, tree branches, or even another person’s silhouette) to frame the main subject in the background. It creates layers of visual depth and gives the scene context.
For example, when recording inside a building, you can frame your subject through an arched doorway or a window. This doesn’t just make the image more aesthetically appealing; it can also help focus the viewer’s attention on the main subject and give the impression that we’re ‘peeking in’ or ‘watching from a distance’.
Make sure these foreground elements don’t dominate so much that they pull attention away from the main subject. Use techniques like a shallow depth of field to make the foreground slightly blurred, so the main subject stays sharp and stands out.
5. Balance and Simplicity
Good composition often prioritizes balance and simplicity. A frame crowded with many competing elements can leave viewers confused about where to look. On the other hand, a frame that’s too empty can feel bland.
Look for balance between the subject and the negative space (the empty area around the subject). Sometimes leaving most of the frame empty (white space) actually makes the subject feel stronger and more important. This is often called minimalist composition.
When a frame feels too busy, ask yourself: which elements matter to the story? If an element doesn’t add value, consider removing it by moving the camera, adjusting the framing, or even asking for it to be cleared away (if possible).
6. Keep the Background Clean
One of the most common mistakes beginner videographers make is ignoring the background. A messy, overly busy background, or one with distracting elements (like a pole ‘growing’ out of the subject’s head), can ruin the overall quality of the video.
Always pay attention to what’s behind your subject. If possible, change the camera angle, move the subject, or rearrange the props in the background so it’s cleaner and less distracting. Using a wide aperture to create a shallow depth of field can also go a long way toward blurring the background.
If you’re shooting in a public area such as around Tugu Muda, watch out for elements that might suddenly appear behind your subject, like pedestrians or passing vehicles. Sometimes you need to wait for the right moment or recompose the shot.
7. Choosing Shot Sizes (Wide, Medium, Close-Up)
Understanding the different shot sizes is an integral part of effective video composition. Each shot size serves a different communication purpose:
- Wide Shot (WS) / Long Shot (LS): Shows the whole subject in the context of their surroundings. This shot is great for establishing the location, building atmosphere, or giving an overview. For example, a wide shot of the café in Banyumanik to show the feel of the place.
- Medium Shot (MS): Shows the subject from the waist up. This shot is commonly used for interviews or conversations because it shows facial expressions and upper-body language. It strikes a balance between the subject and their surroundings.
- Close-Up Shot (CU): Shows a specific part of the subject, usually from the chest up or even just the face. A CU is very effective for showing emotion, reactions, or important details. Use it for emphasis.
Combine these shot sizes in your video to keep your audience engaged and give them the information they need. Don’t get stuck on just one type of shot.
When Should You Break the Composition Rules?
All these composition rules are guidelines, not dogma. You can break them if you have a strong reason and a clear visual goal. For example:
- Symmetry: Sometimes placing the subject right in the center of the frame can create a strong, aesthetically pleasing symmetry, especially with architecture or subjects that have visual balance.
- Dramatic Emphasis: Breaking the headroom or lead room rules can be used to create a dramatic, tense, or anxious effect.
- Specific Aesthetics: Certain visual styles may deliberately avoid the rule of thirds to create a more distinctive look.
The key is that you have to be aware that you’re breaking a rule and understand why you’re doing it. Experience will teach you when the rules can be bent or broken.
The seven principles above are really one and the same habit: pause for a moment before you hit record, and ask where the viewer’s eye is going to land. My junior crew member who kept putting the subject in the center wasn’t unaware of the rule of thirds — he just wasn’t yet in the habit of checking the frame before each take. These rules stop feeling like rules once they become reflexes, and the only way to get there is to pay attention to the frame, one shot at a time.
Need a visual production team for a project in Semarang? Labstory is a Semarang-based production house. See Labstory’s portfolio for examples of our work, or get to know our team and approach.
FAQ
What is the Rule of Thirds in video composition?
The Rule of Thirds divides the frame into nine equal boxes with two horizontal and two vertical lines. Placing the subject along the lines or at their intersection points makes the image more dynamic.
Why do headroom and looking room matter in video?
Headroom is the space above the subject’s head, while looking room is the space in front of where the subject is looking or moving. Both matter for visual balance and viewer comfort.
How do leading lines help with video framing?
Leading lines are visual elements (such as roads or fences) that guide the viewer’s eye to the main subject, creating depth and focus in the visual narrative.
What’s the difference between a Wide Shot, a Medium Shot, and a Close-Up Shot?
A Wide Shot shows the subject and their surroundings, a Medium Shot shows them from the waist up, and a Close-Up Shot focuses on details or the face. Each has a different communication purpose.
When can I break the rules of video composition?
You can break composition rules if you have a strong visual reason, such as creating symmetry, dramatic emphasis, or following a particular visual style. It’s important to be aware of why you’re breaking the rule.


Leave a Reply